Apply a sepia tint
The Sepia Tone adjustment controls behave similarly to the Color Monochrome controls, except that the sepia color is already selected.
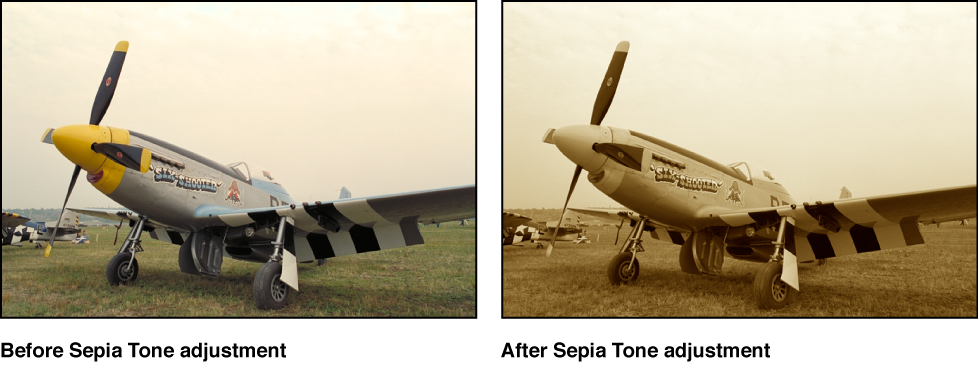
Apply a sepia tint to an image
Select a photo.
If the Sepia Tone controls aren’t shown in the Adjustments inspector or the Adjustments pane of the Inspector HUD, choose Sepia Tone from the Add Adjustment pop-up menu.
-
Use the Intensity parameter controls to adjust the strength of the sepia tint applied to the image.

By default, the intensity of the sepia color is set to the maximum value of 1.0.
The image is converted to black and white, with the sepia color tint applied to the midtones.
You can also brush the Sepia Tone adjustment on specific areas of an image. For more information, see Apply brushed adjustments.